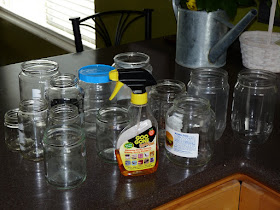
I have been collecting jars for months because they are great to use for dozens of projects.
I took out my stash of jars and cleaned them all--Goo Gone & hot water work really well to get all the sticky off of the jars.
 Next, I cut out stencils from contact paper using my cricut and then I painted chalkboard paint onto all the jars.
 It took 3-4 coats to get a nice thick label
 Then, I let all the jars sit in the cupboard for a couple days to allow the chalkboard paint to cure.
Then you are supposed to chalk it all over and clean it off before using it.

I bought a chalkboard marker to use because my handwriting is awful with real chalk and it gives it a brighter cleaner look.

Voila!
Just a few more steps until I can reveal our new desk!


Those look AWESOME! I may need to steal your idea, but it still wouldn't look that cute!
ReplyDeleteI better start saving jars. Looks great!
ReplyDeleteOkay, I LOVE this! Great idea Katie!
ReplyDeleteThat is SUCH a good idea! I have been having so much turmoil over how to organize my desk/sewing stuff/everything. I am totally going to use this idea!!! (Maybe not right away since we're moving soon, but eventually!) Love it!
ReplyDeleteYour chalkboard labels look fantastic on those jars! I have not used contact paper with my cricket yet. However, you have inspired me to try it. Thanks for sharing!
ReplyDeletenew follower. love the link for the chalkboard markers! thanks.
ReplyDeletelaura@imnotatrophywife.com
Found this on pinterest. Love these, thanks for sharing the tutorial. I'd love to try this! Hadn't thought to use my cricut for the stencils!
ReplyDelete